 By
·
4 minute read
By
·
4 minute read
Since we are launching a 30-day free trial of the Ayfie Platform, we want to help you understand the platform and its functionalities as a tool for Enterprise Search, so you can use it in the best way. In this guide we will go through the basics of how to navigate searching and managing functionalities such as adding notes, making annotations, highlights and creating a timeline in Ayfie.
Ayfie Locator: One platform to rule them all
Ayfie is a platform for Enterprise Search that gathers all your data across applications and systems and offers a single point for searching all your data, kind of like an "internal Google". Let us explain: The platform offers you a way to gather your data across Microsoft Office 365 and other apps like Slack, Dropbox, archive systems, EPR or CRM systems, and so on. Even unstructured data will be made available from one platform, where you can then make knowledge of the gathered data you find, using smart functionalities on top of the basic search.
Speeding up your workflow, Ayfie saves the frustration of not finding what you need without it taking forever and data being all over the place.

So, let's look at how Ayfie works for searching, and how to use the different functionalities:
 Image: Ayfie Starting point for search
1. Navigate The User Interface: Smart Filters and Entity Extraction
Since Ayfie is built on Artificial Intelligence (AI) with Natural Language Processing (NLP), the platform has multiple really cool features: the technology reads the contents of documents and semantically extracts dates, persons, organizations and locations mentioned within the contents of emails, images and documents. This way, the search engine automatically sorts the most important data for you instantly as you enter the platform.
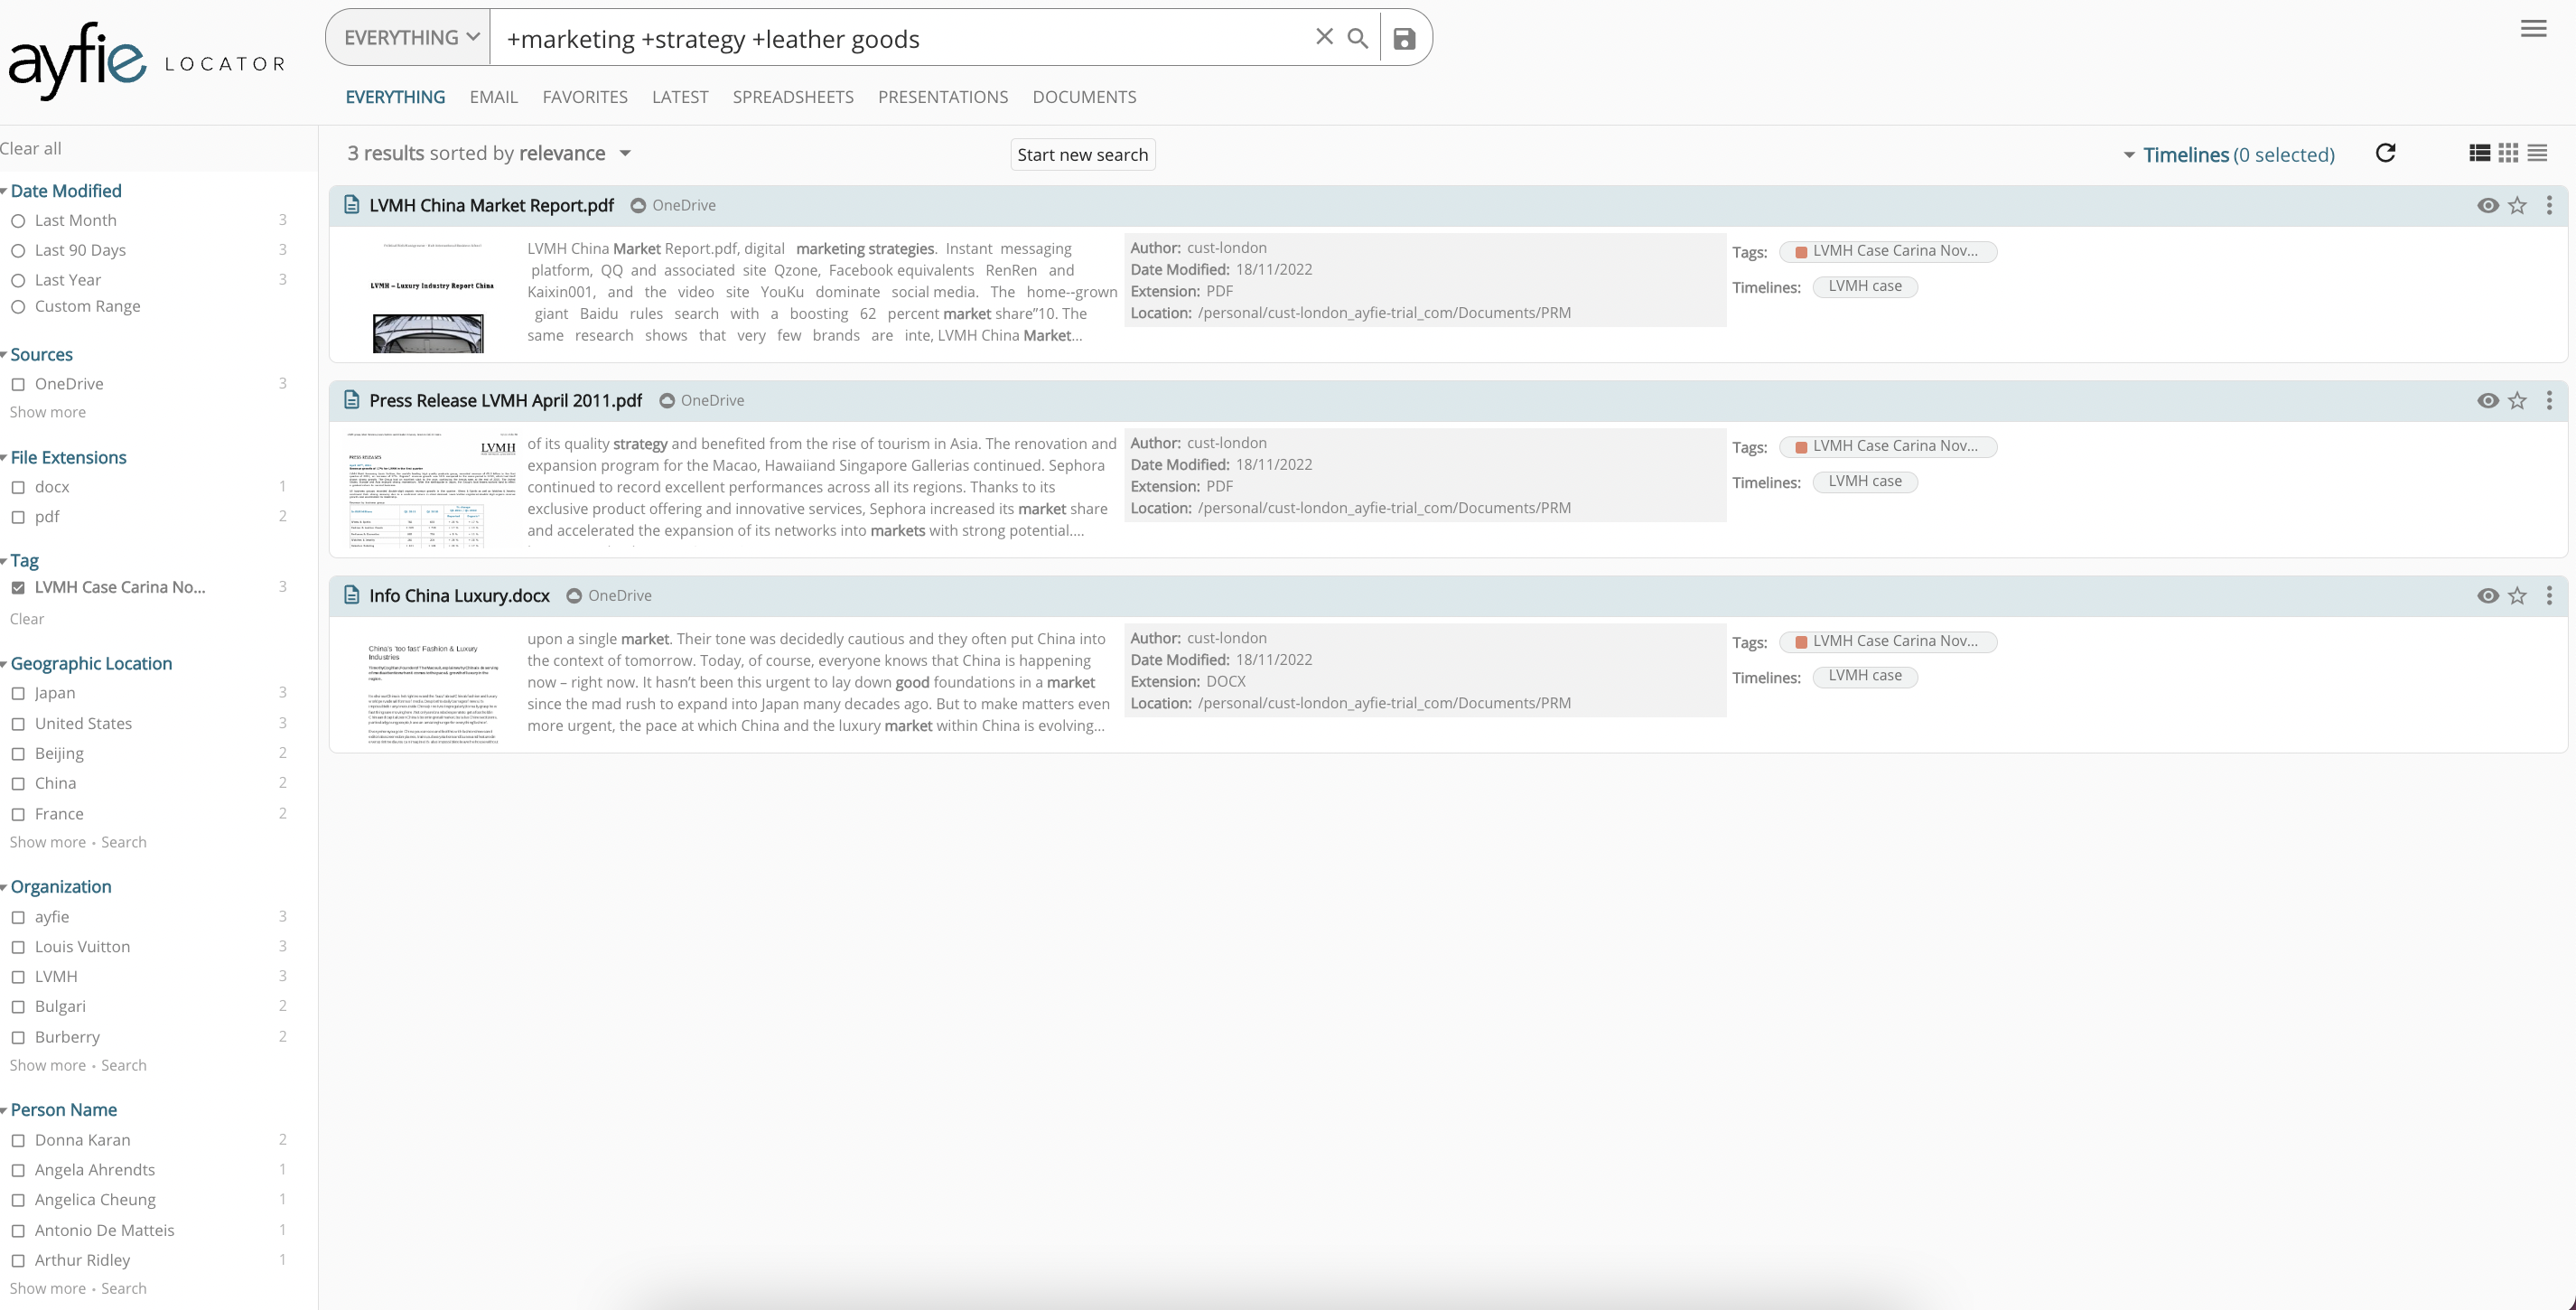
The smart filters help you to navigate your case, transaction, general document search, or narrow down to the most relevant documents for you. It can also be used to quickly discover sensitive information. 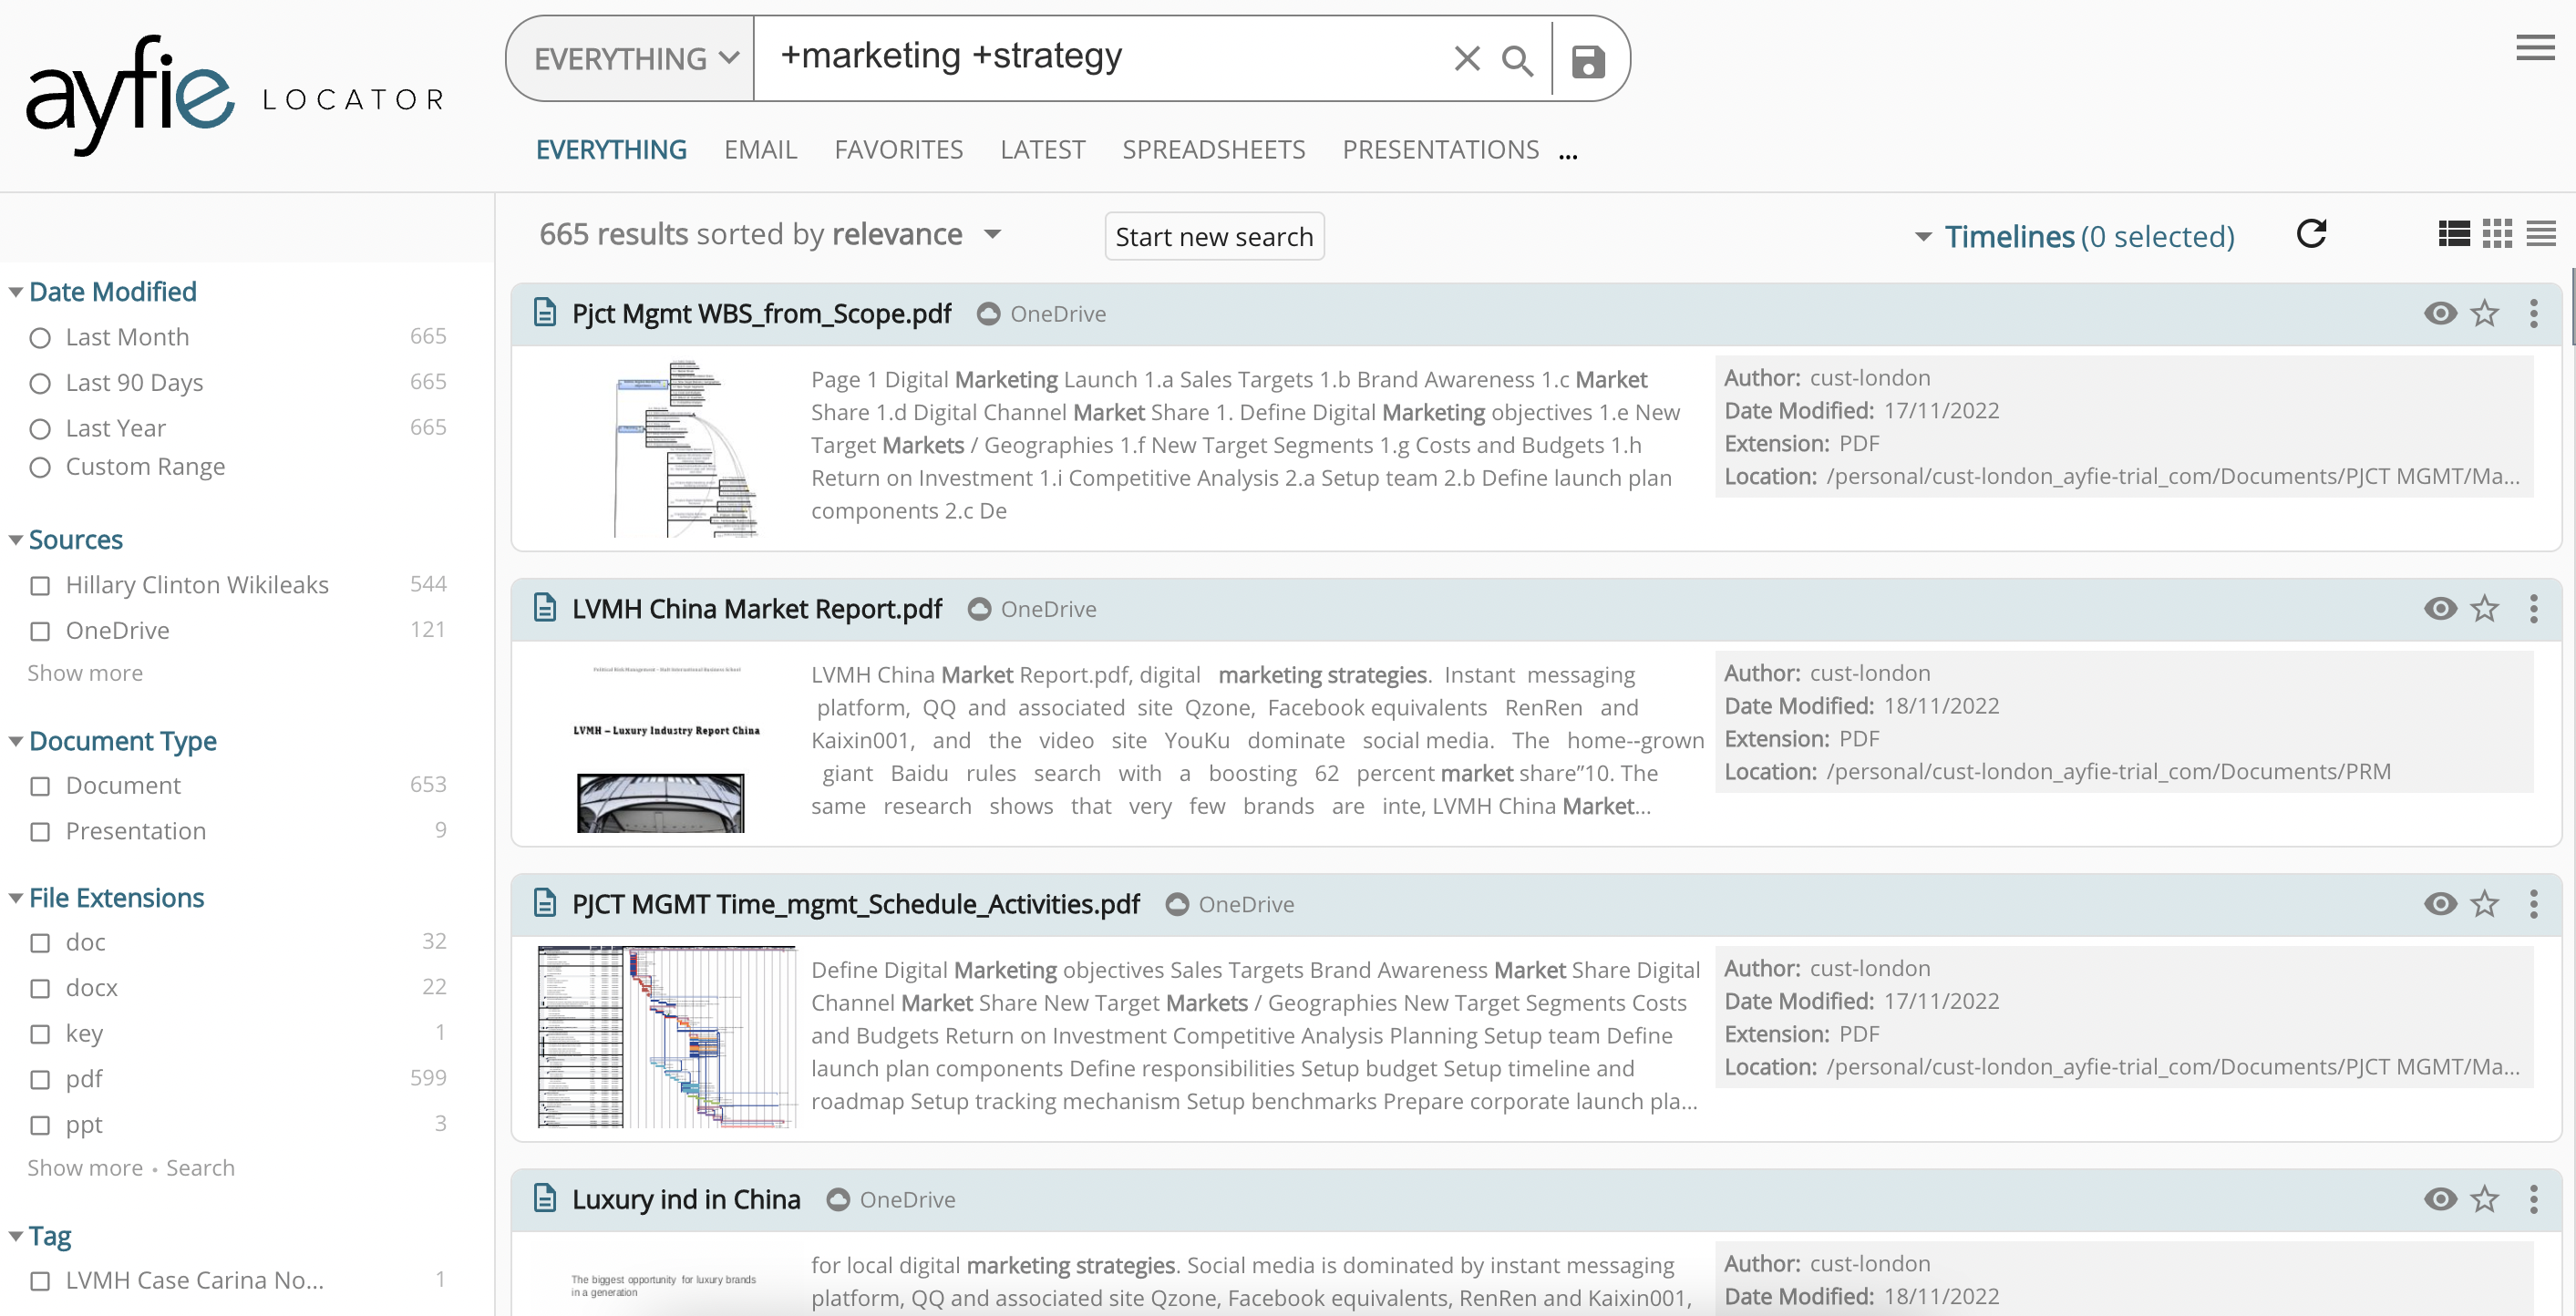 Image: Ayfie Search User Interface with Entity Extraction as Smart Filters on the left side
2. Pick your viewing mode: card, list, detailed or timeline
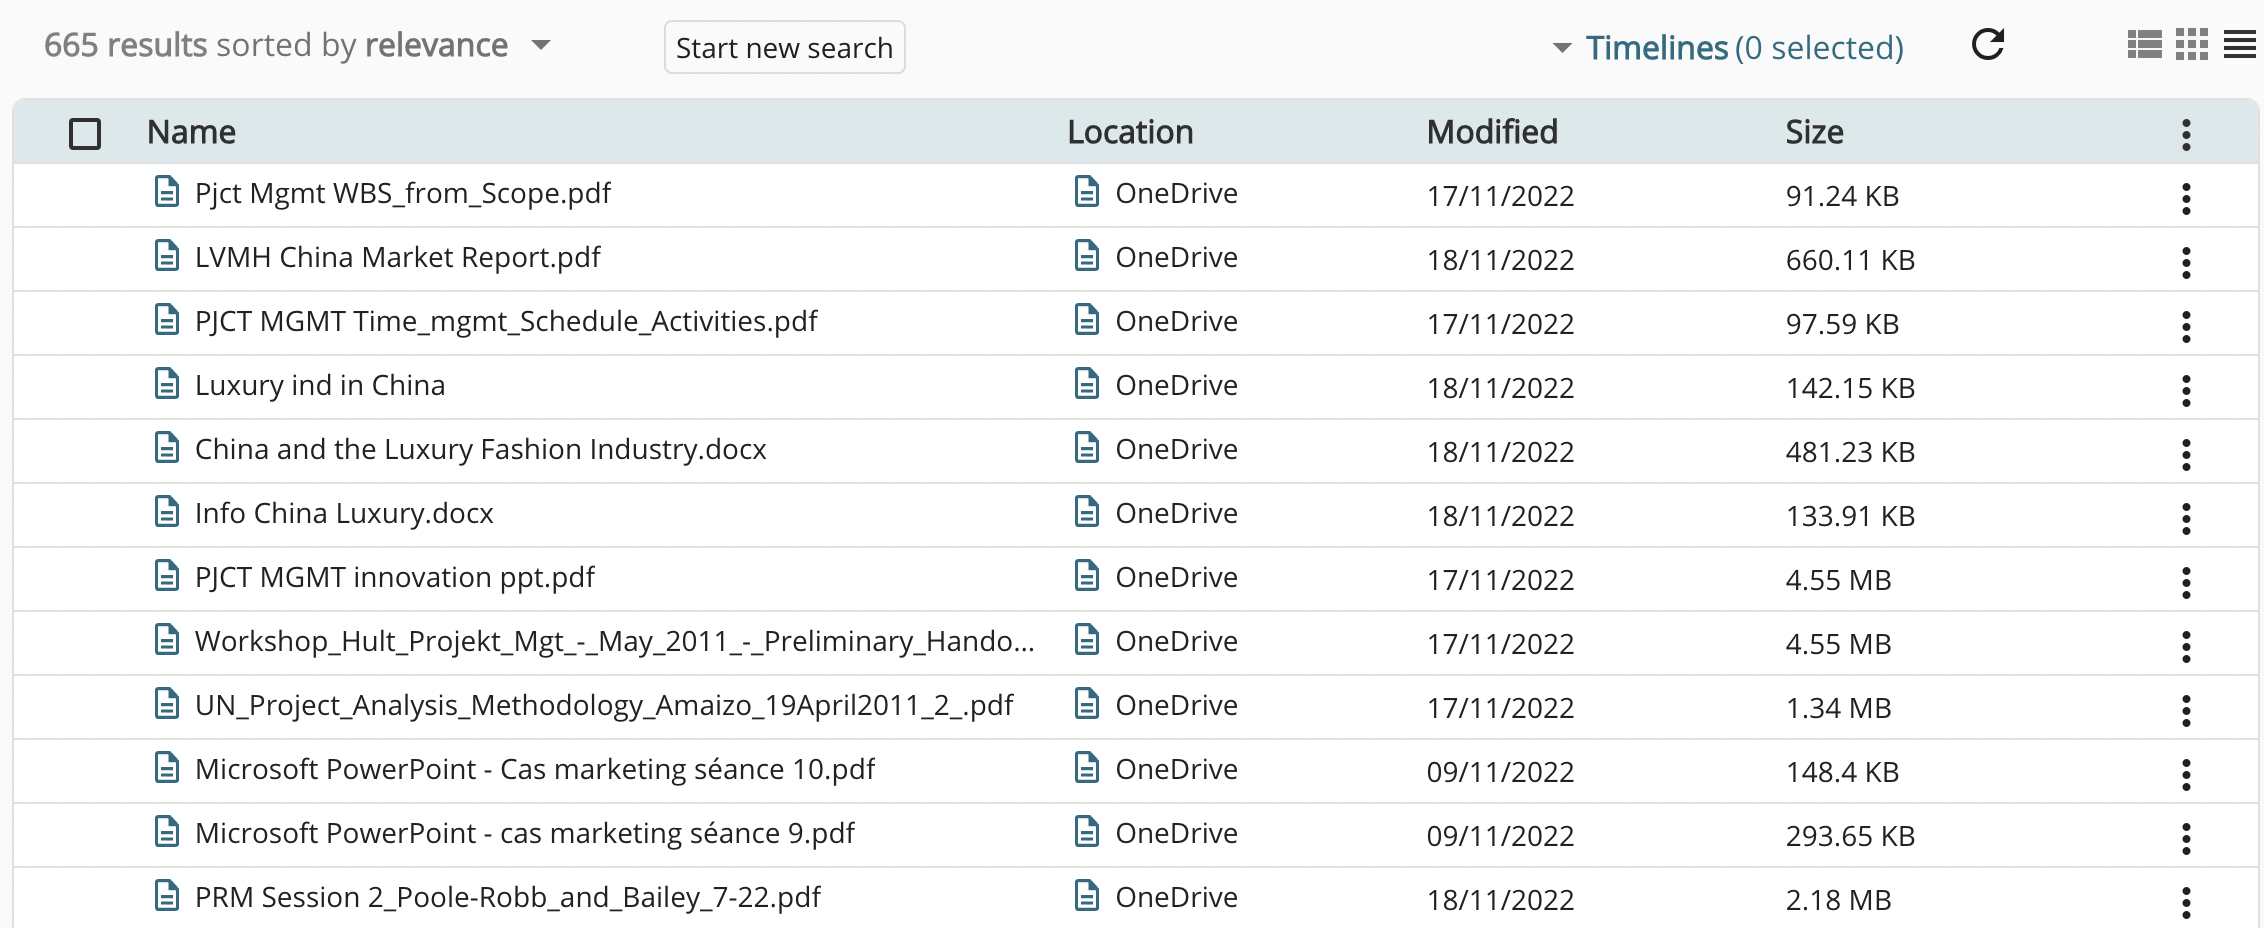
To give you the best user experience, we want you to be able to help decide what your user interface looks like. Therefore. when you use the platform, you can choose yourself how you want to view the documents you search for. View them by card, list, detailed or timeline view. Whatever floats your boat. The data will be easily accessible, and any changes you make to how you view your search results, can of course be changed so it's not a one-time design decision.
To change the way you view your search results, go to the top right corner where you see three different symbols, just to the right of the refresh button.
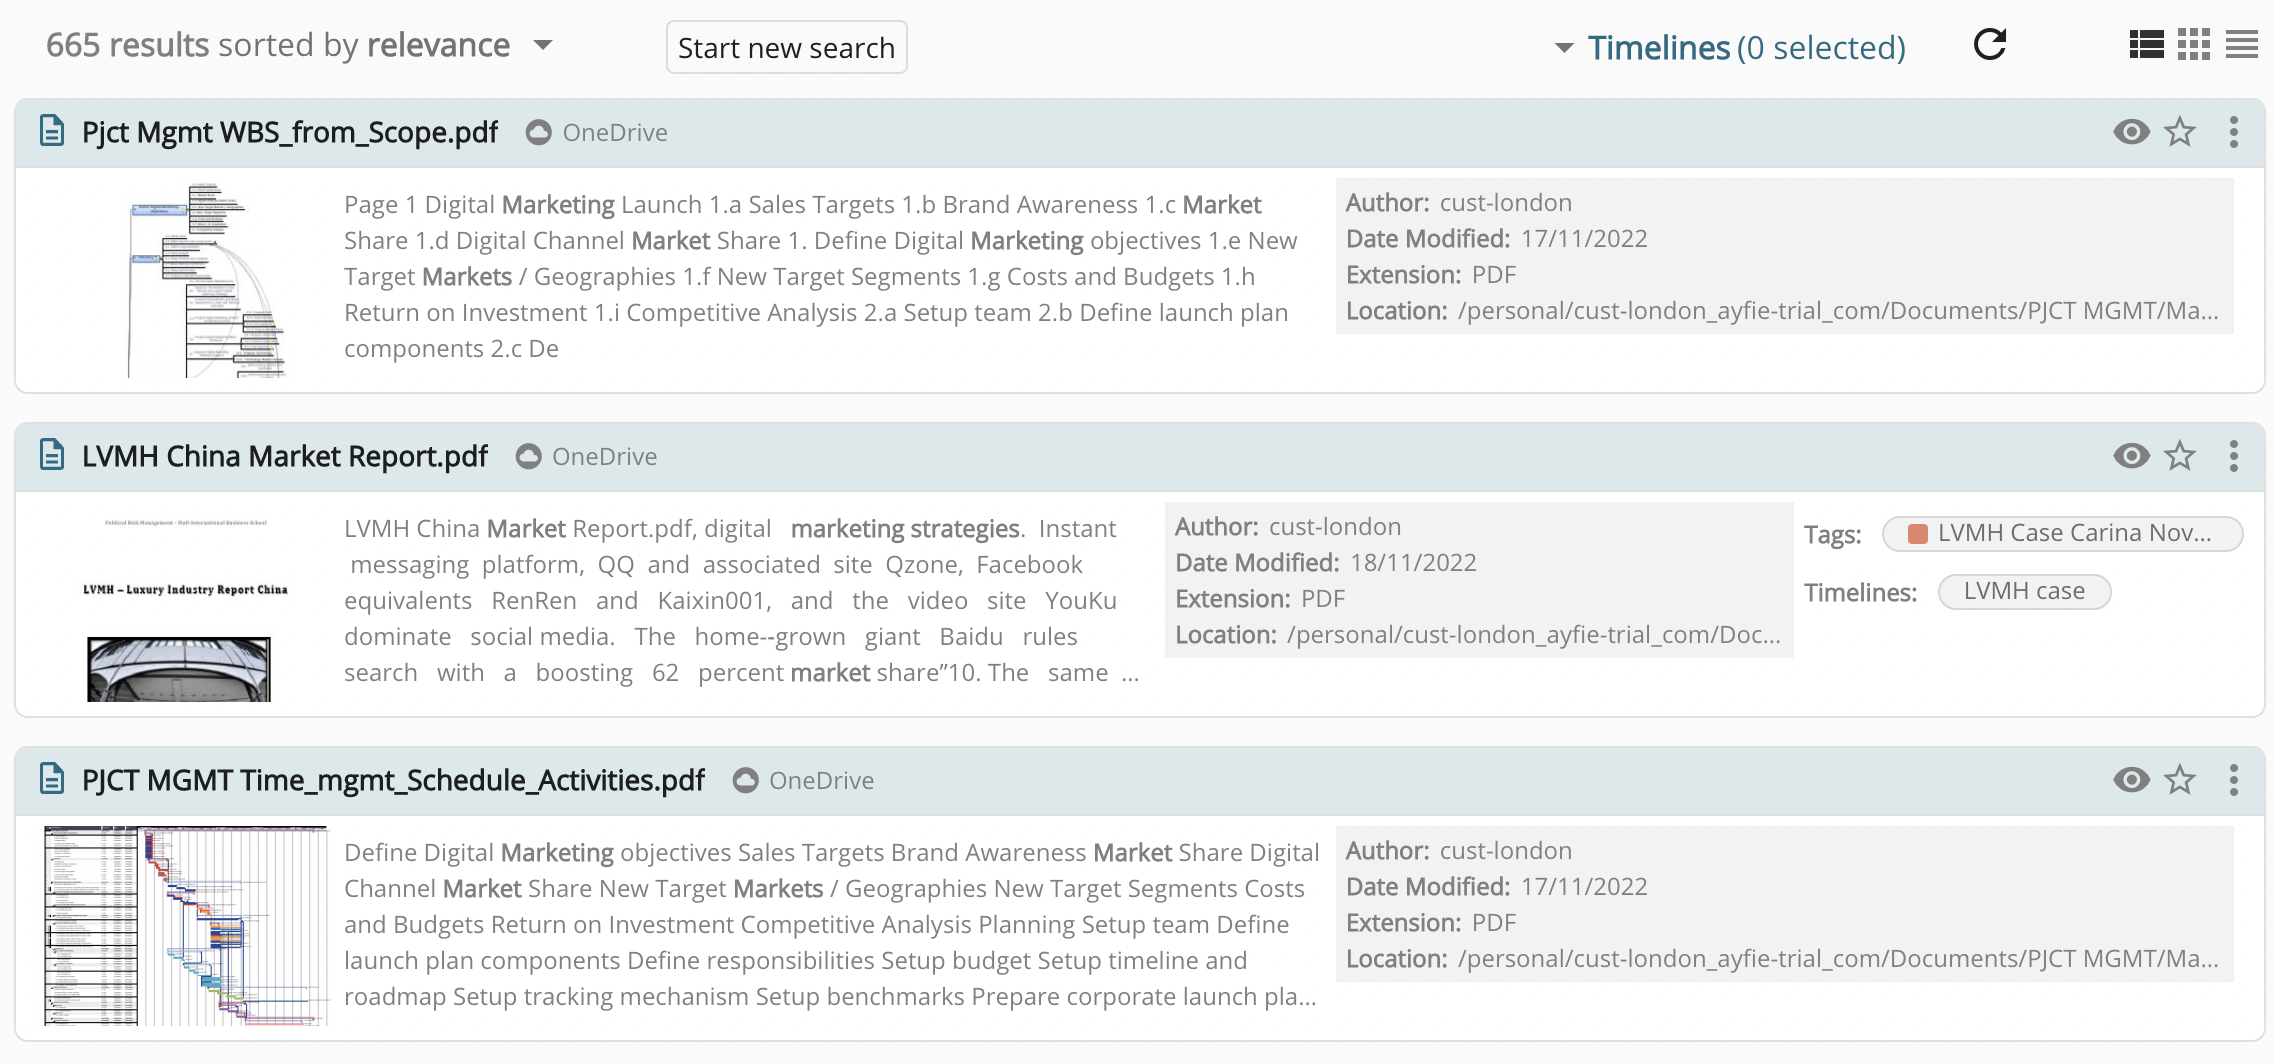
To set a detailed view, simply push the first of the top right 3 symbols. Then your search results will look like this:
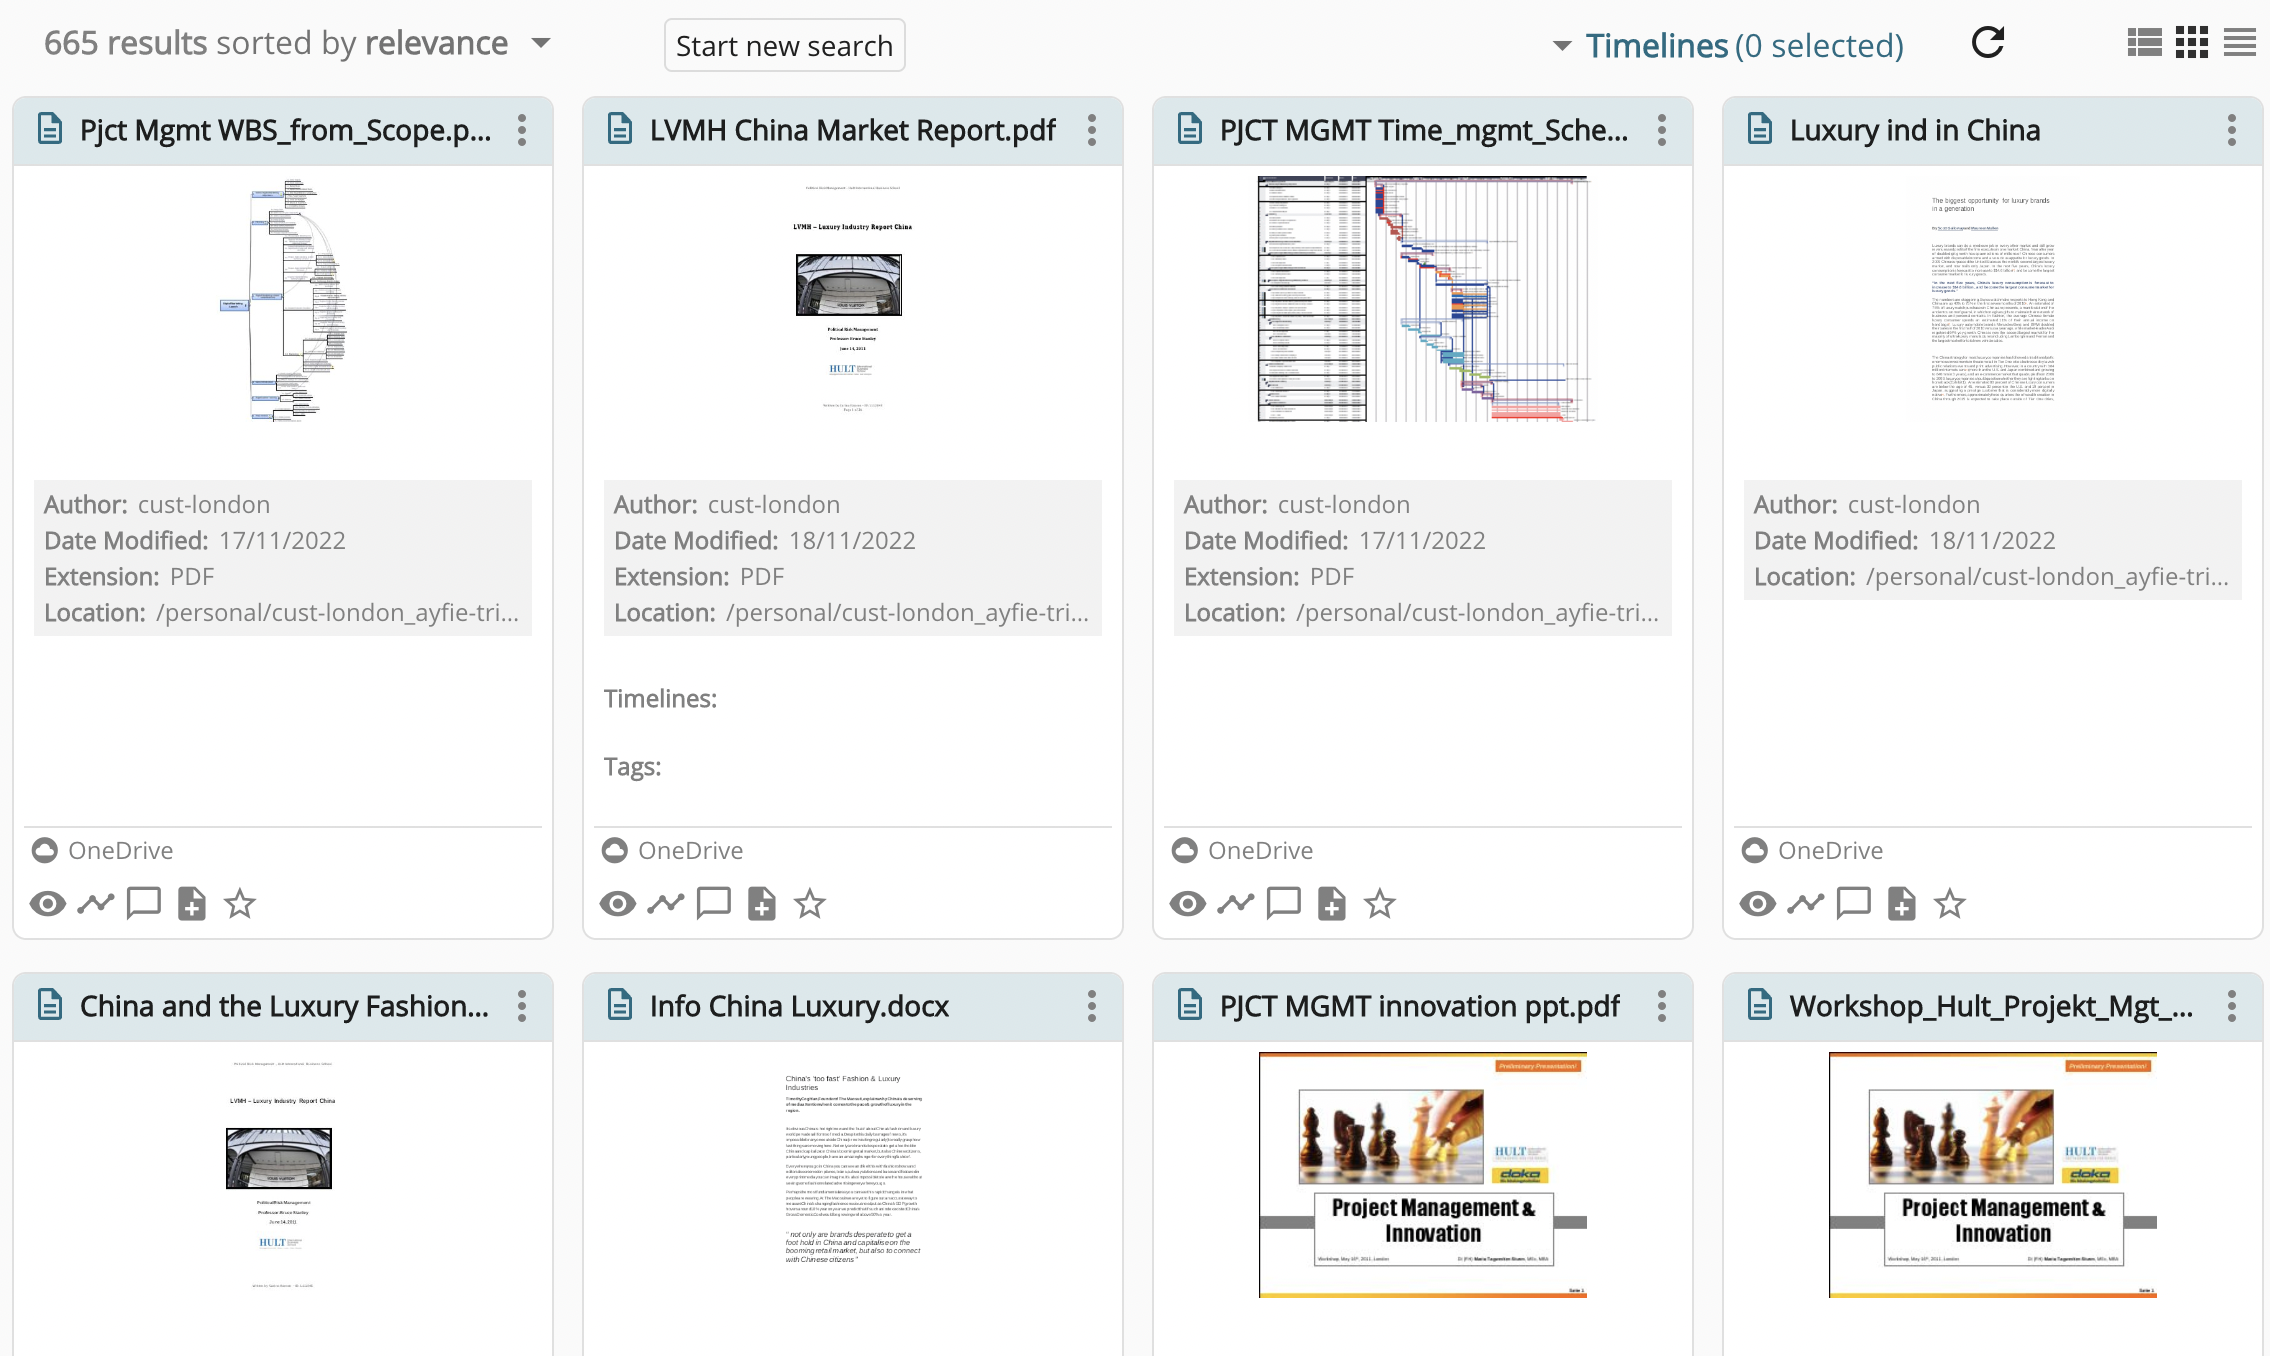
For a card view, click the second symbol of the three choices. Then your search results will look like squares of the document previews:
The third and final option is to view your search results by a list. For this search result preview mode, click the far right symbol. The list of results will then look like this:
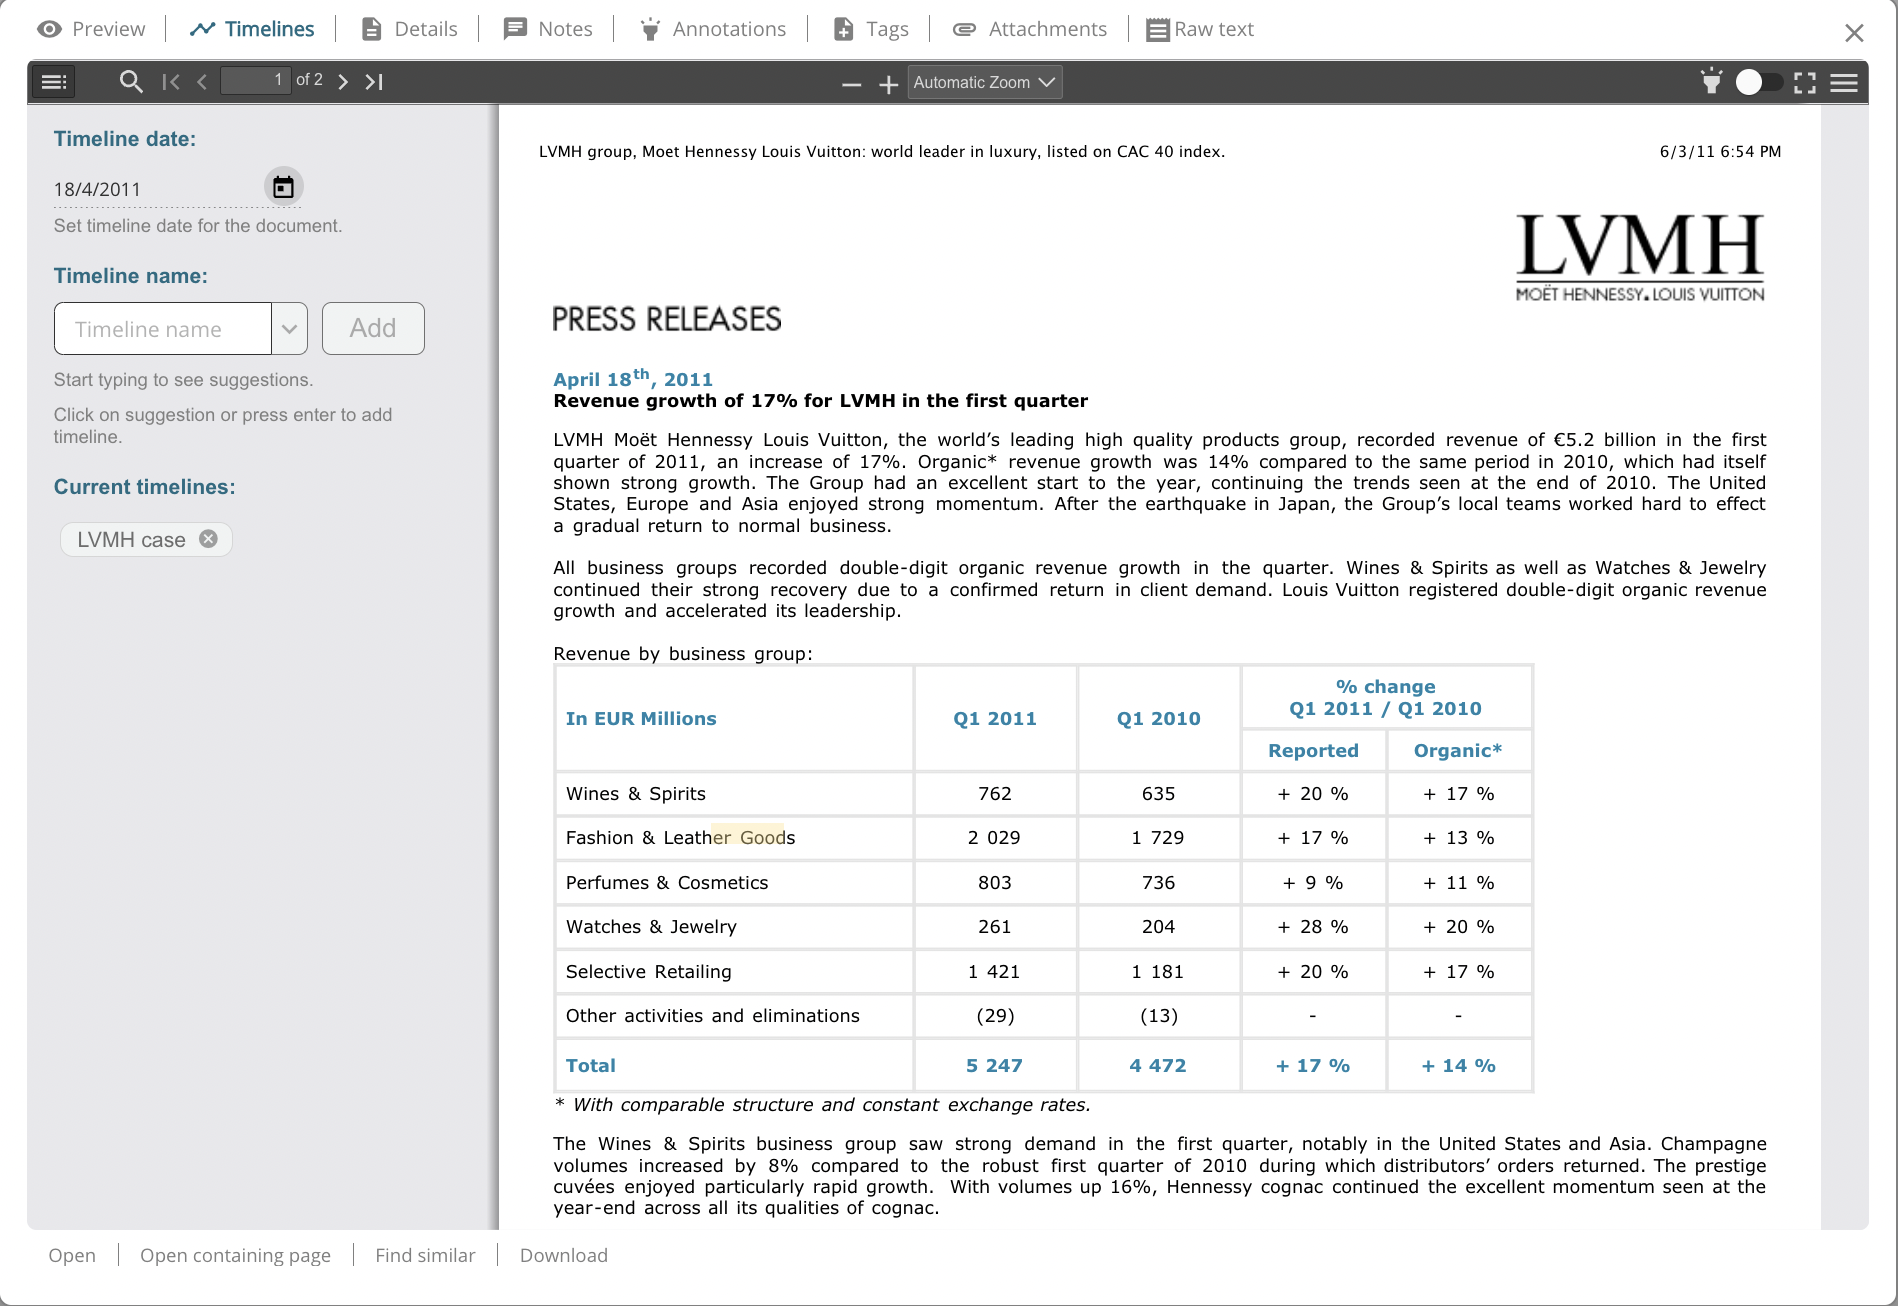
3. highlight text by annotations
Some words, sentences or paragraphs in a document are extra important. If you are working on a case, it might be a piece of data that stands out from everything else. Knowledge or data that might be "the needle in the haystack". While previewing documents in Locator, you can search within the preview and then annotate, or highlight, text.
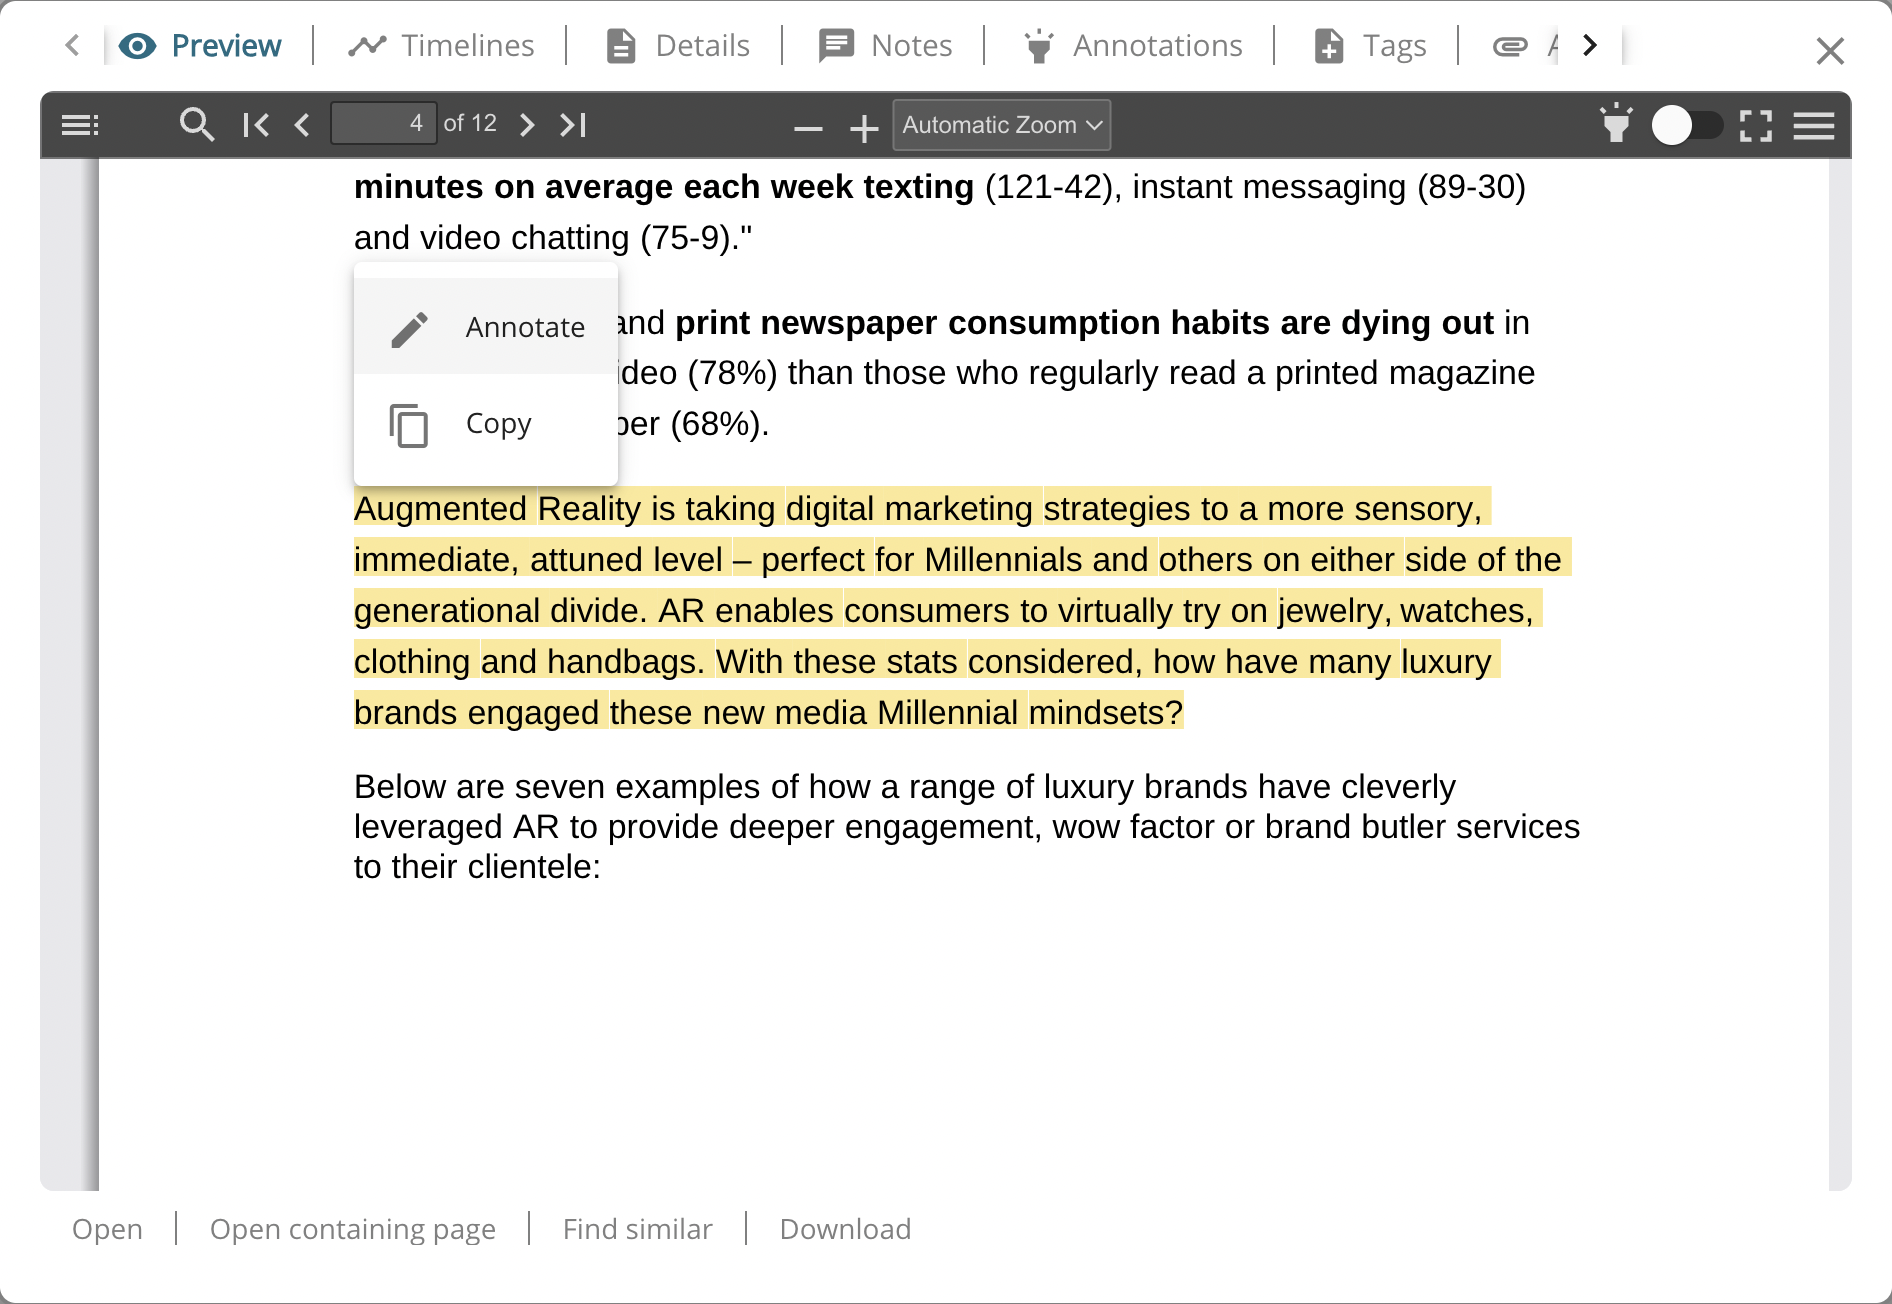
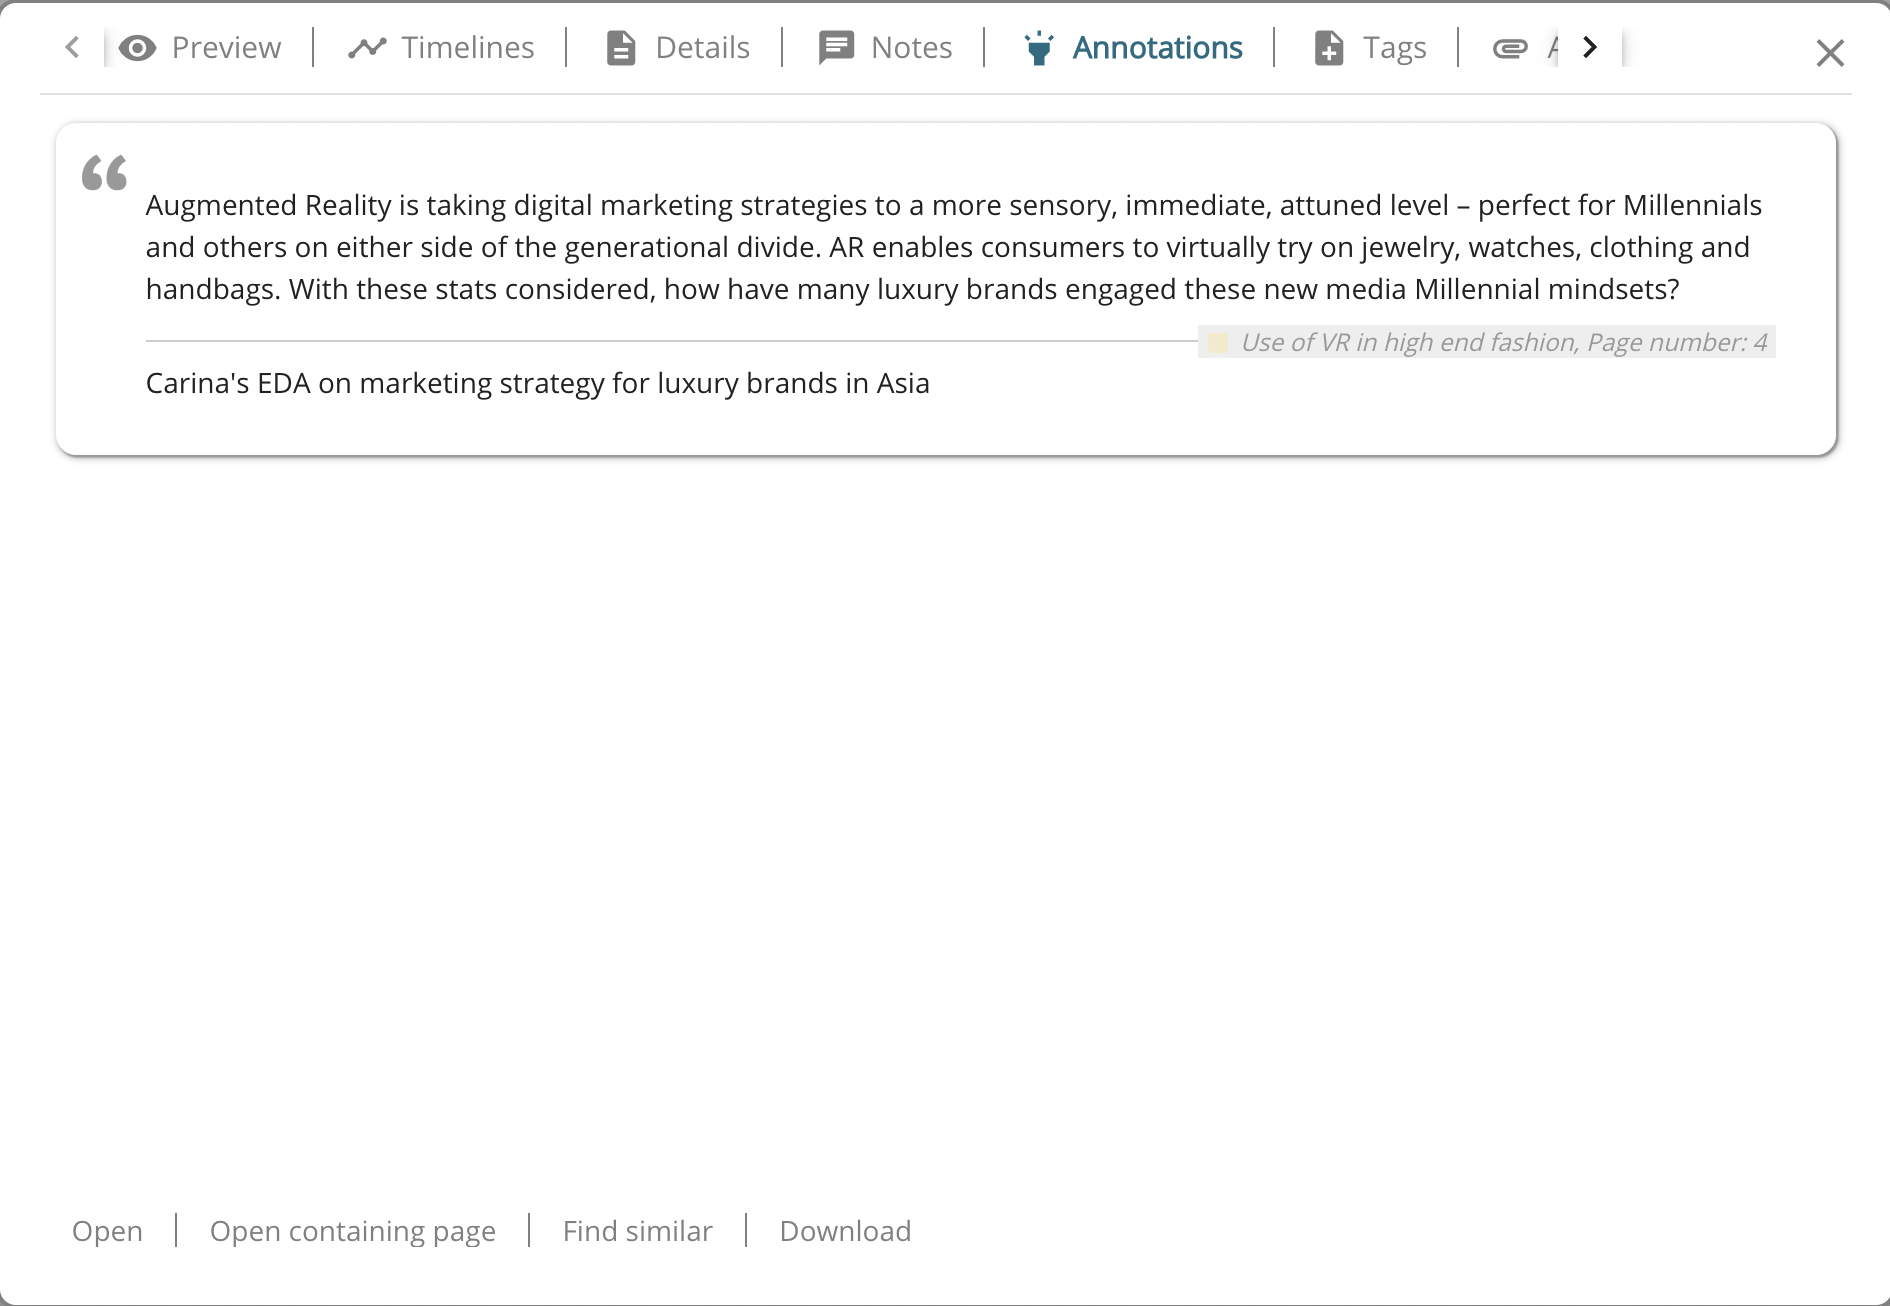
This is a smart way to help yourself or coworkers save important content for future references. Annotations are fully searchable in the Locator UI and you can export annotations to PDF or Excel, making it super easy to find back to the most valuable knowledge you need in no time.
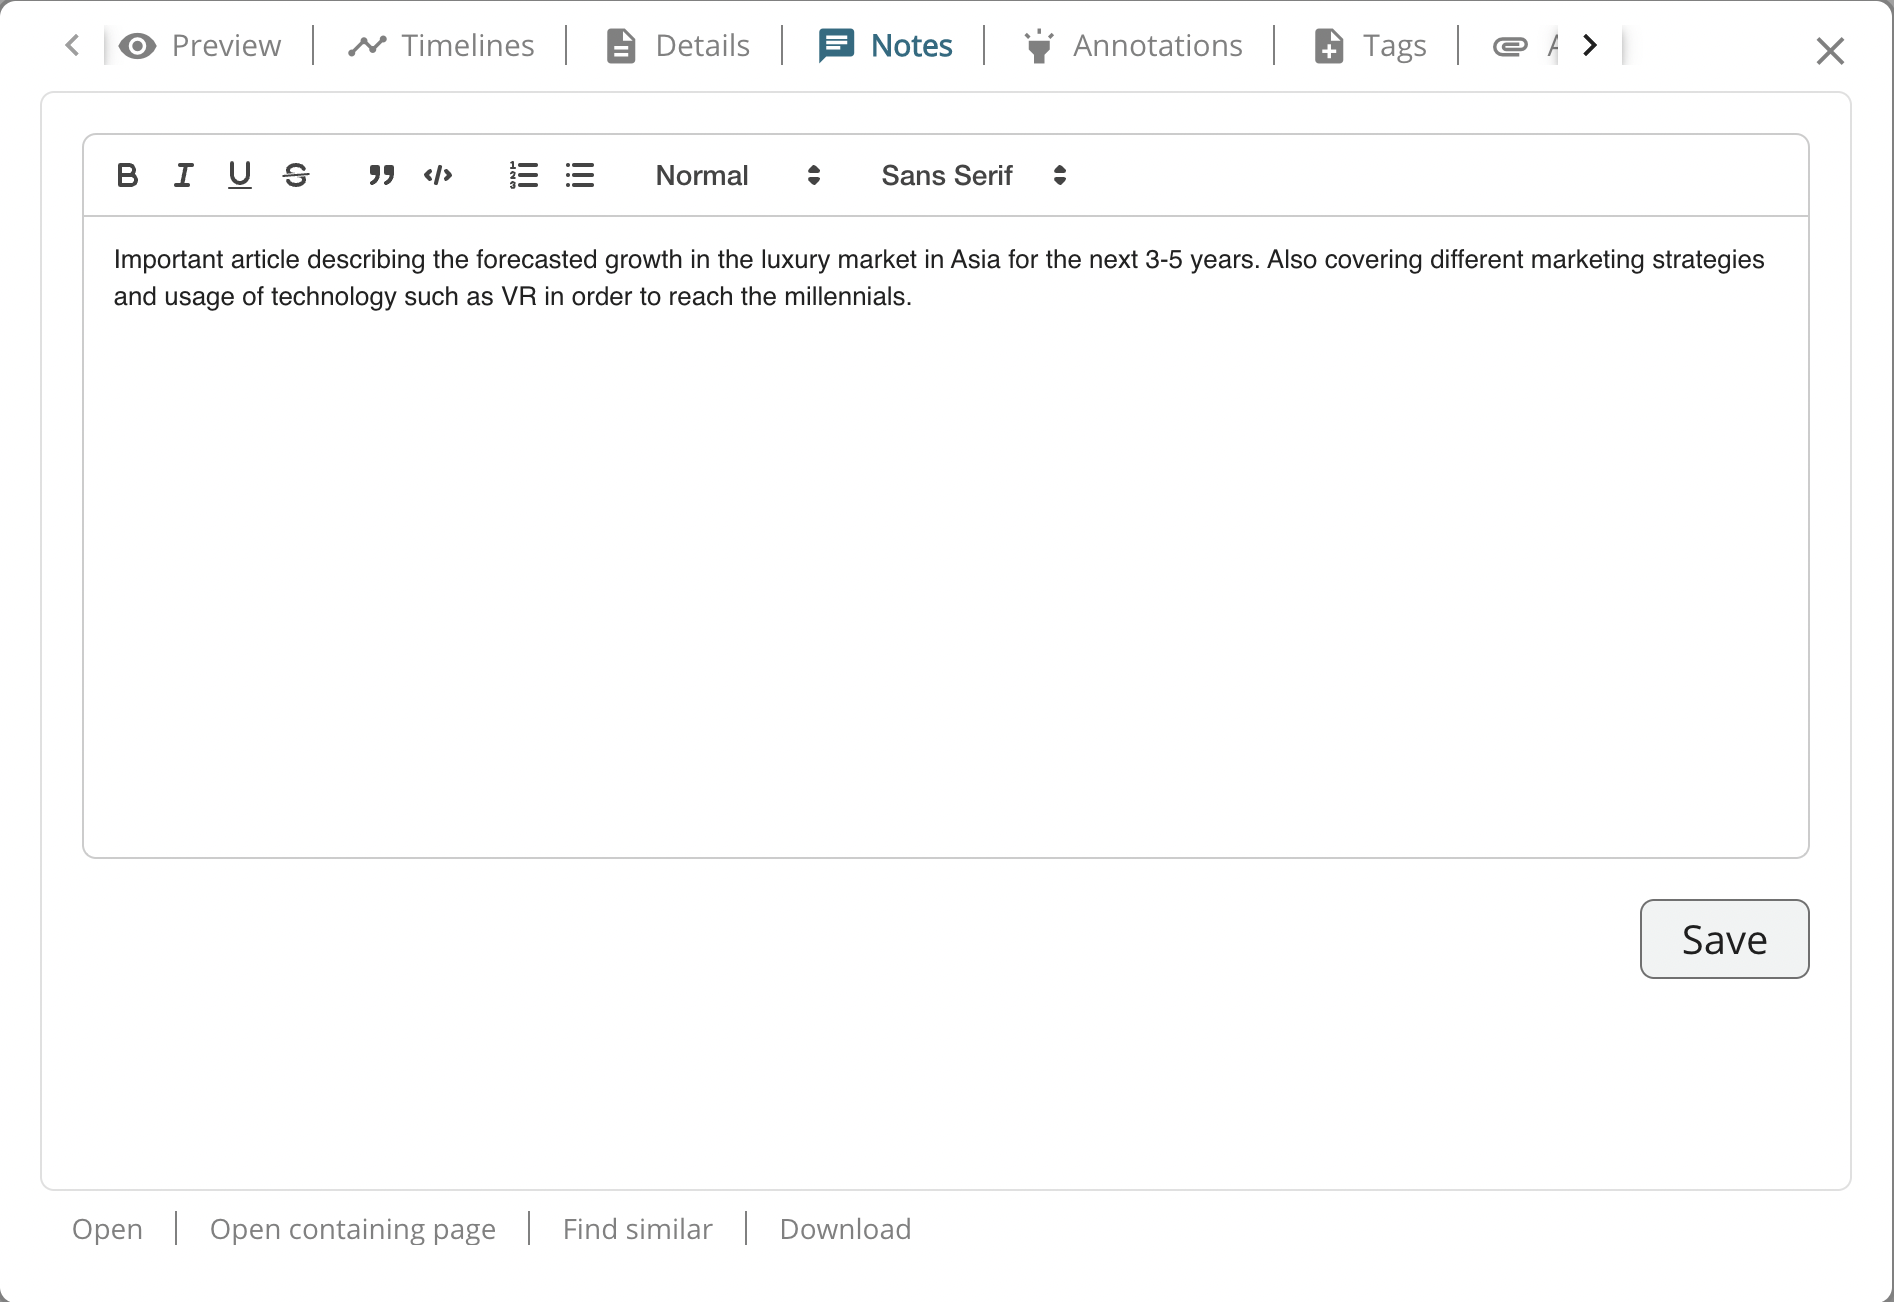
4. Make notes
If you want to add knowledge to a document, simply add a note. You can add notes to both a document or a timeline. Notes are also searchable, and you can even export them from within the platform. Notes are an easy way to keep structure in your workflow for yourself and share insights with your team. The note is always made to the document preview, meaning you do not change the original document. However, the road to changing the original document is short, as you can easily go to where the original document is stored by clicking on the side of the preview.
5. Categorize with Tags
Sometimes you have a set of documents that belong together, or that have similar characteristics, and you need to separate these from the others. In Ayfie, use tags to sort content and create work packages to better future workflows for yourself and your colleagues.
6. CREATE Timelines
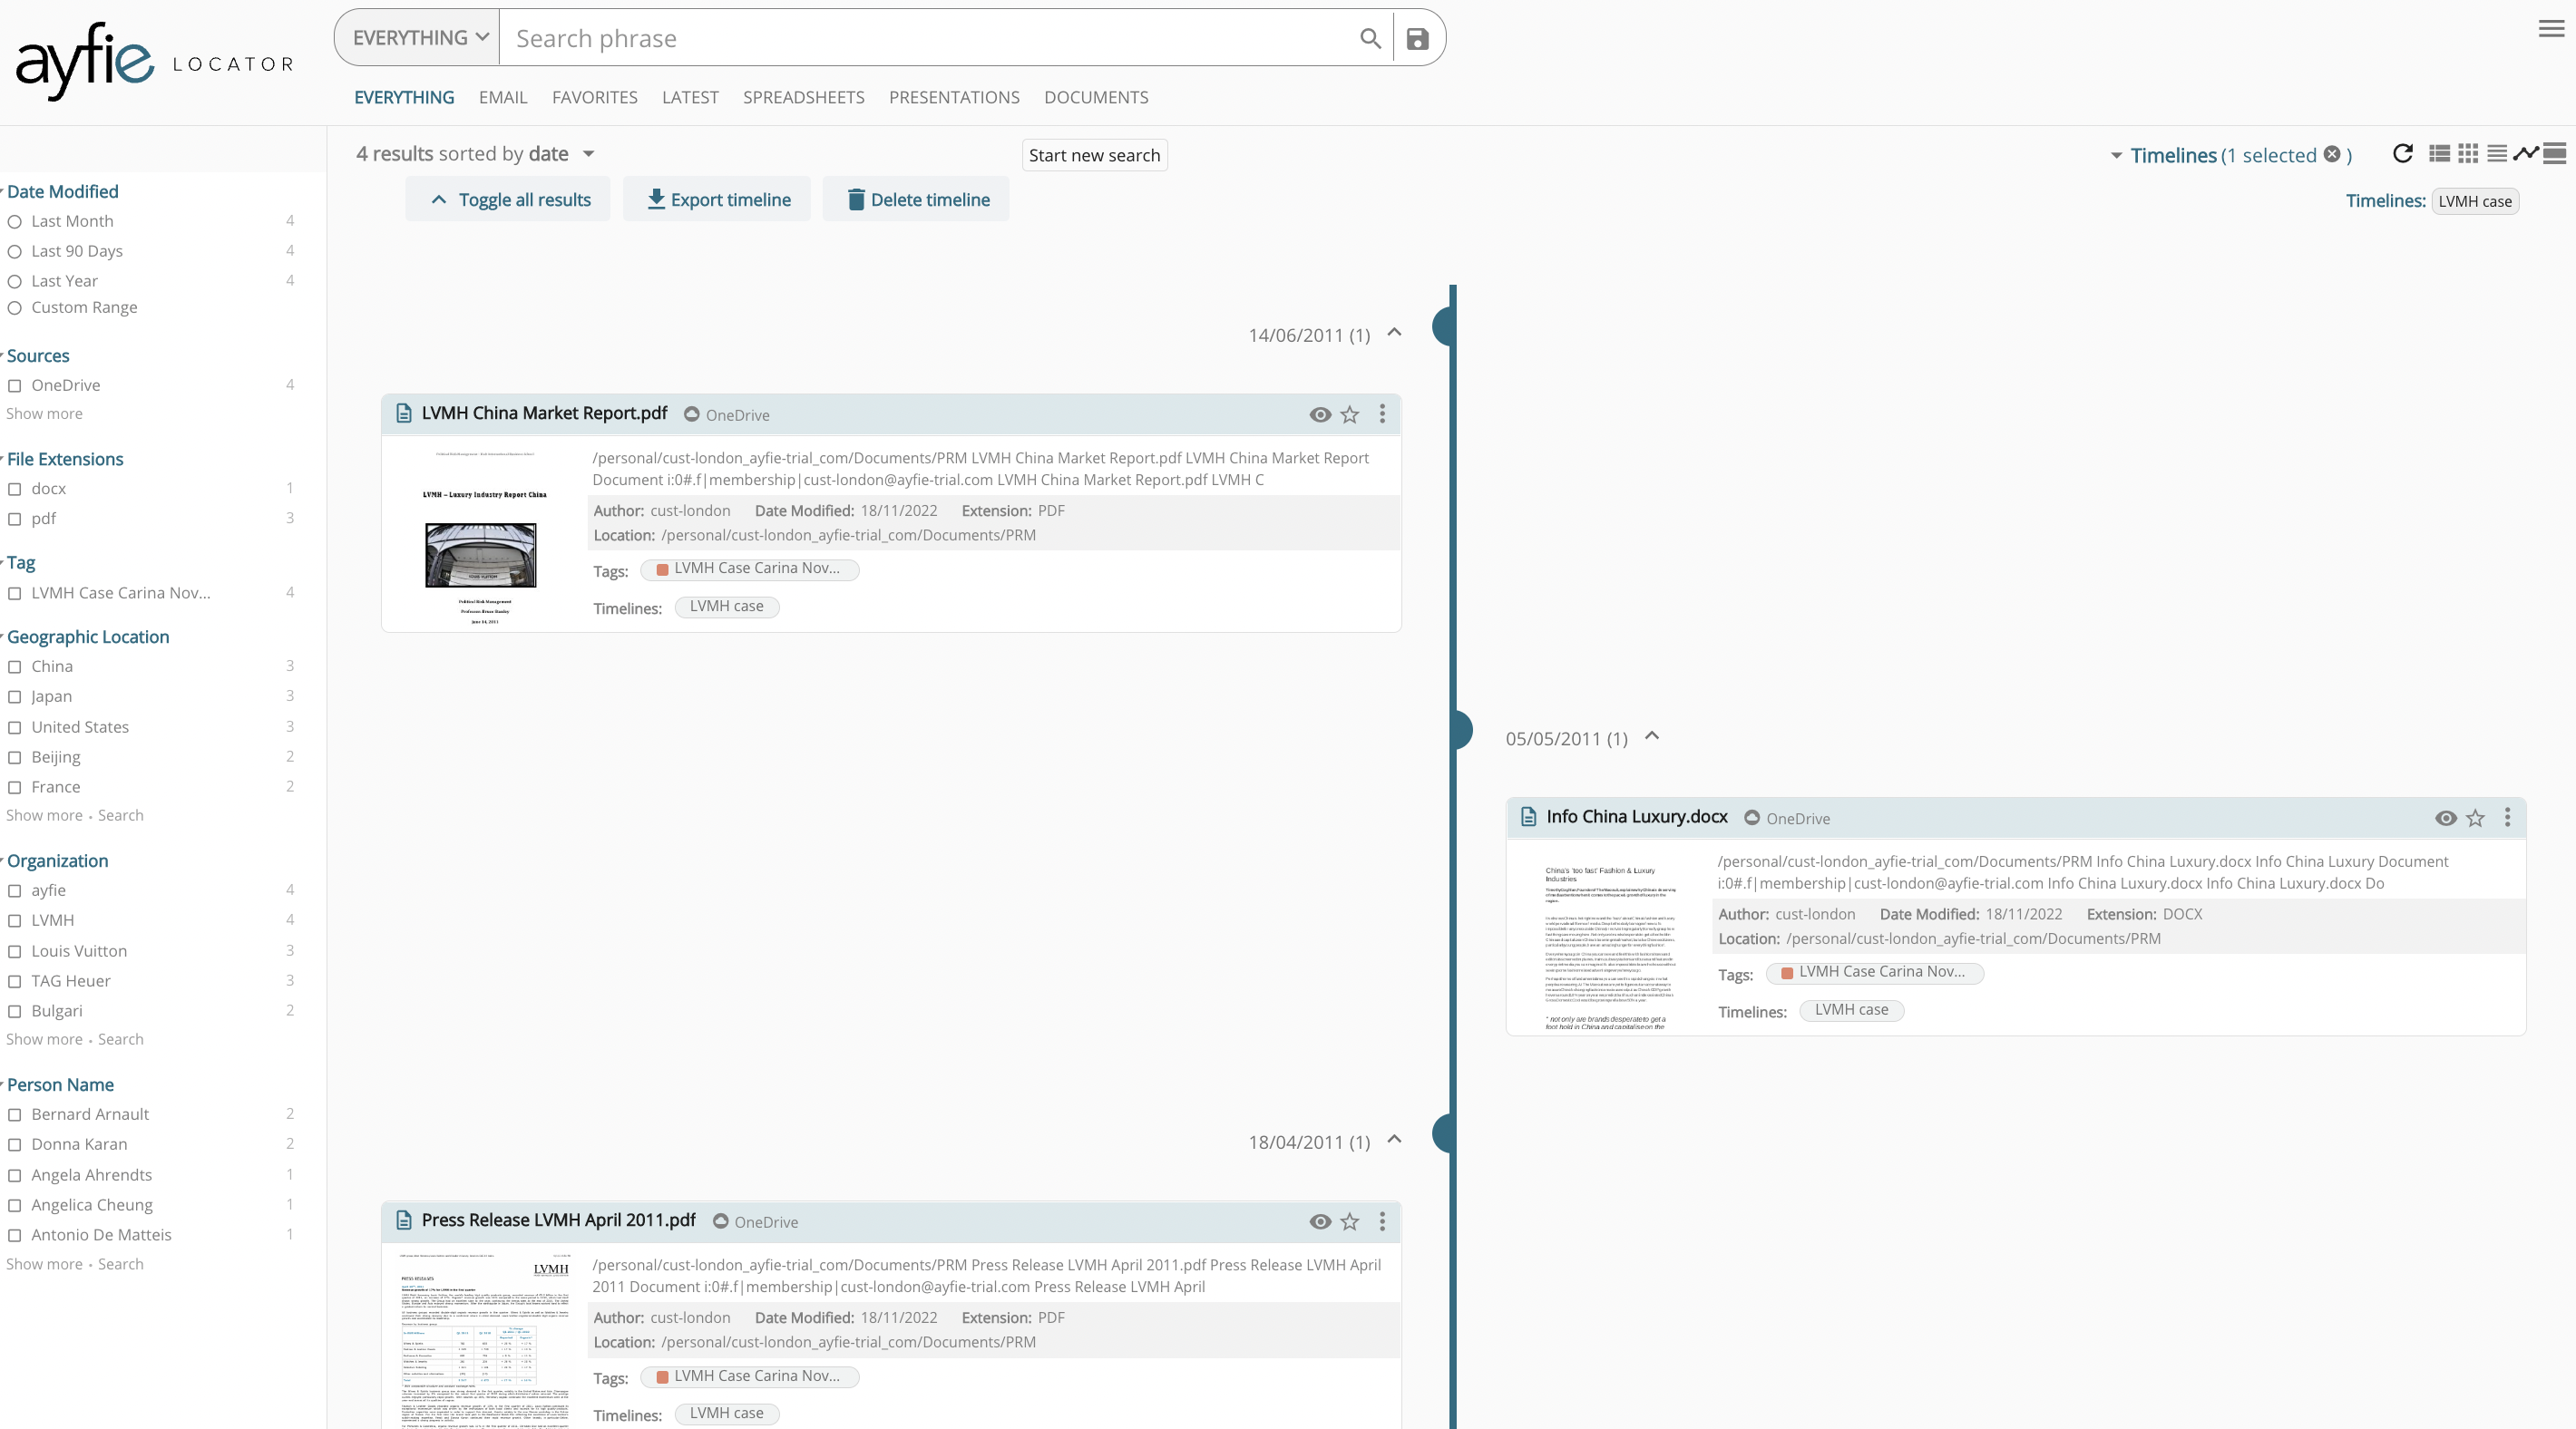
When you are working on cases, especially lawyers, after sales support or insurance agents, you sometimes need to arrange documents chronologically or by another time/date order. That's why we made the Timeline function. While reviewing documents in the easy-to-use preview in Locator you can simply select Timeline on the top to add a document to a timeline. You can have multiple timelines, and a document can also be added to multiple timelines.
When you have added several (if not hundreds) of documents to one timeline, you can select that timeline (next to the different view modes, as presented above) and choose the visual view of your timeline. The timeline will look similar to the one below, having all the other "act on data" functionalities visible, if you have put tags, highlighted/annotated text, or added comments in different areas of the different documents. Just having this visualization of the timeline, showing you the whole history in chronological order, is almost like magic.
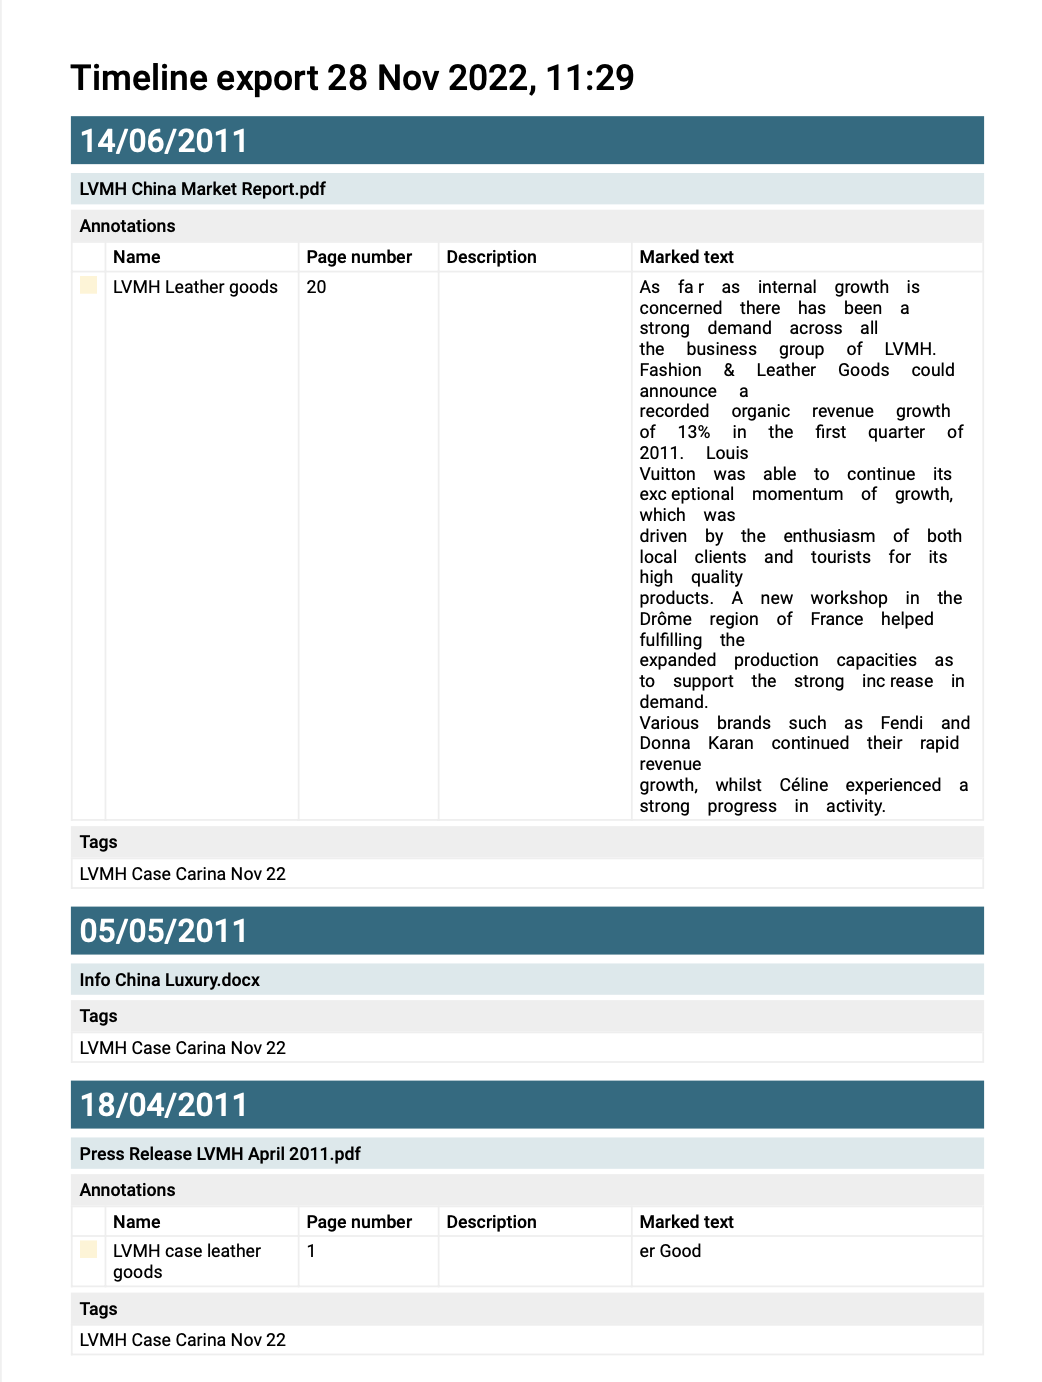
Additionally, timelines can be shared with coworkers, and can even be exported with or without the associated notes, annotations and tags, as a PDF or Excel file.
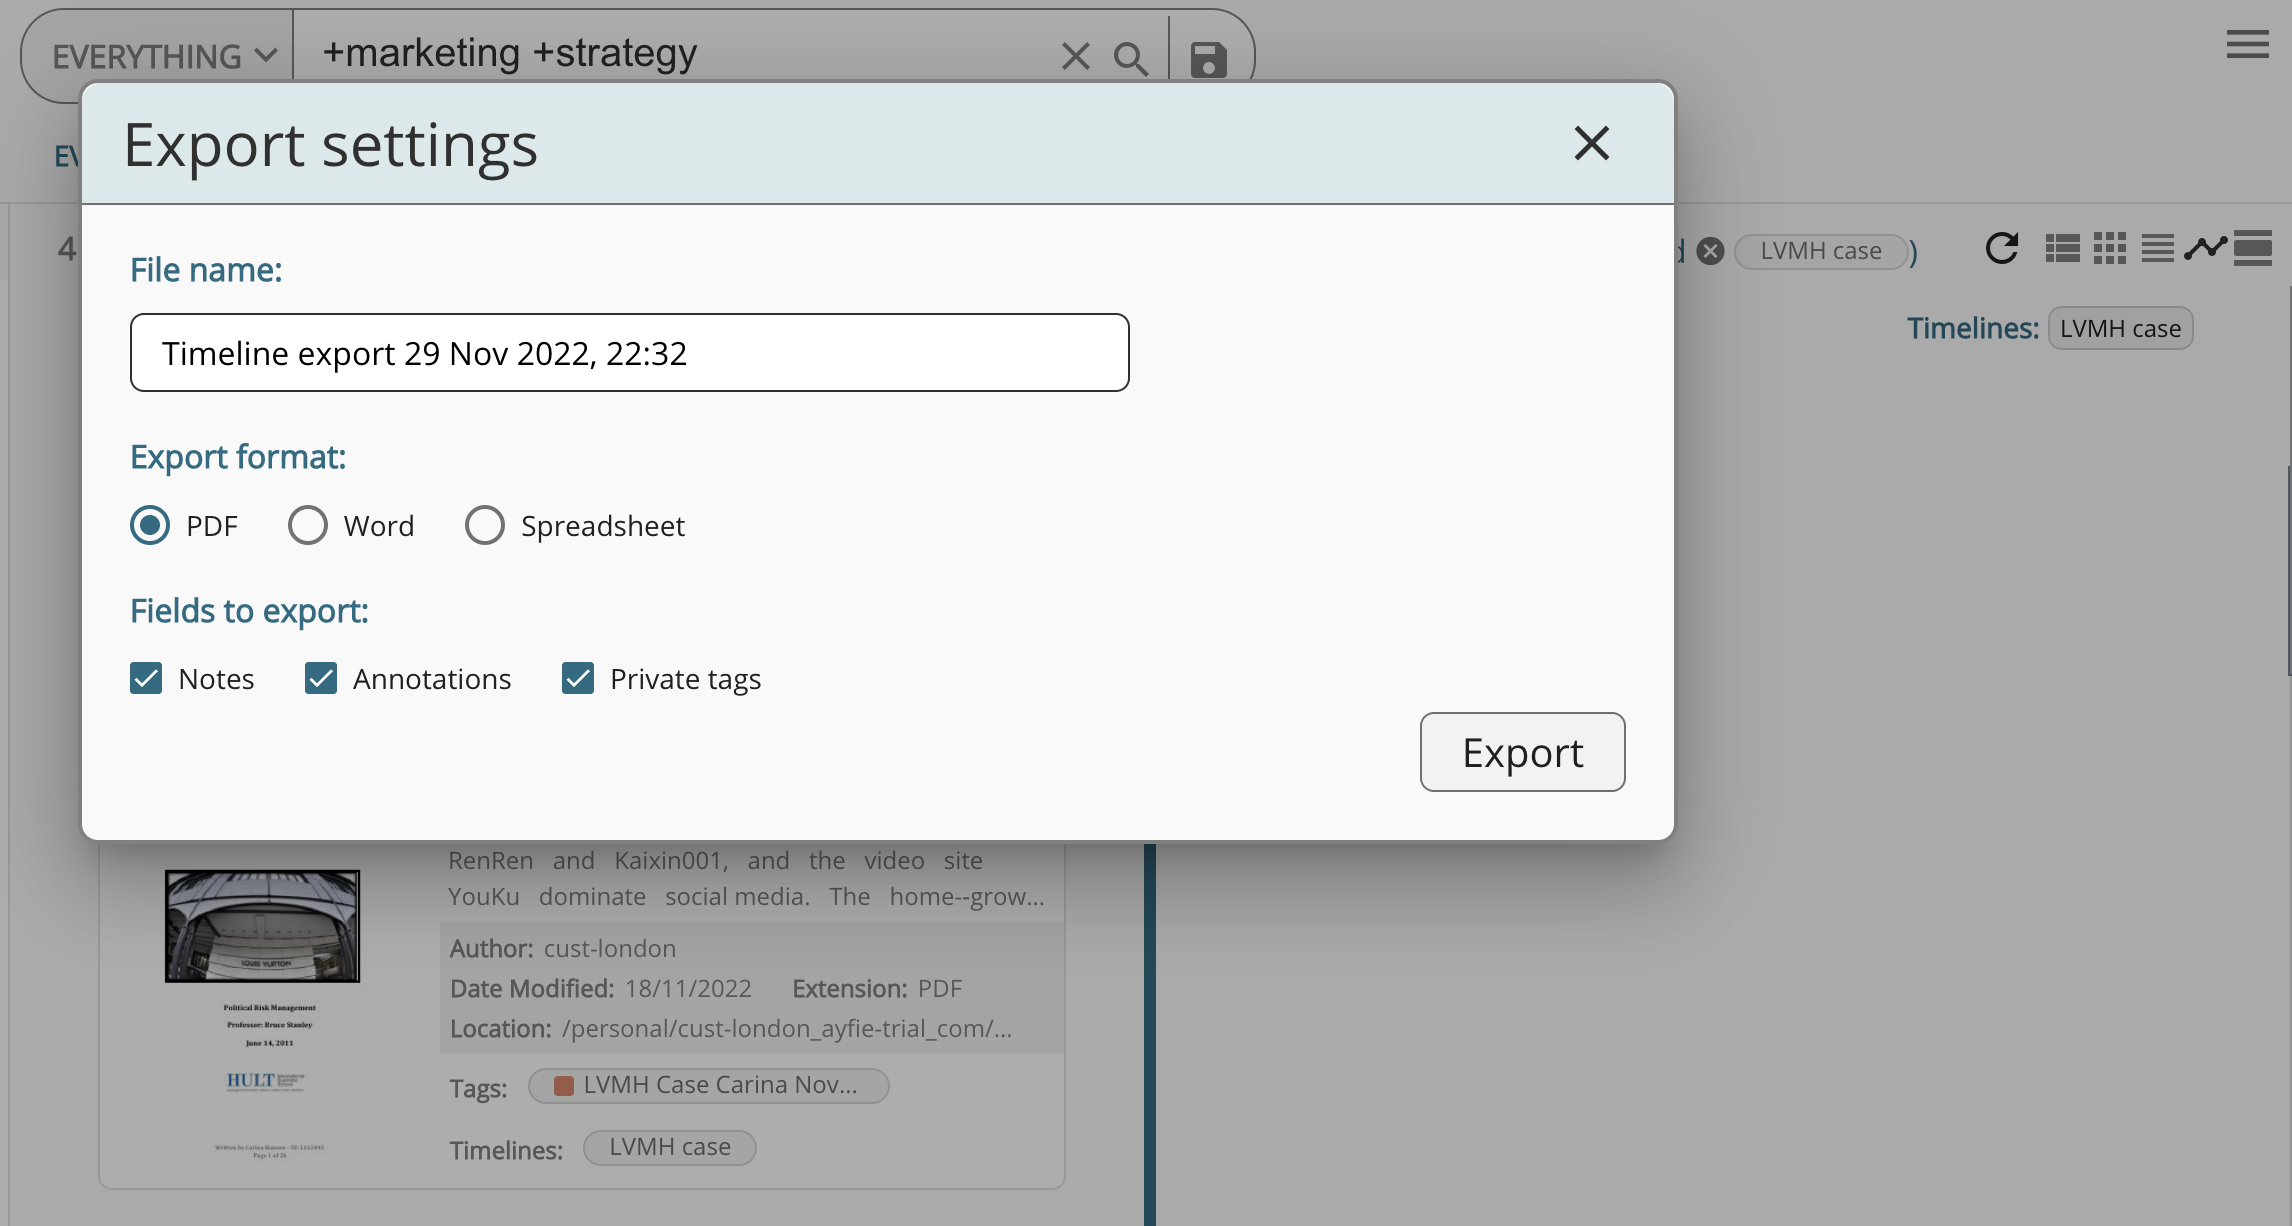
The example below shows how a Word document looks like, containing the same documents shown in the screenshot above.
So, there you have it. These are the basic functionalities of Ayfie and how to manage them. We hope you found this guide helpful. Missing anything? Let us know!
If you want more advice on how to search using Ayfie, download our free search guide, or book a free personalised tour of how to best use Ayfie for your needs.
